Wednesday, December 30, 2015
Monday, December 7, 2015

Thursday, December 3, 2015

Tuesday, December 1, 2015

Thursday, November 26, 2015
Smart Weigh Stainless Steel Kitchen Scale Review- Worth it or Worthless?

First off Happy Thanksgiving everyone! I hope everyone had a fun and food filled day with family and friends!
This Smart Weigh scale is super easy to use and I figured what would be a better time than Thanksgiving to take it for a test drive!

Step 1: Grab your trusty Smart Weigh scale and the plate of your choice. Place plate on the scale and then turn it on. Or you can tare it after you place the plate on the scale to zero it out. Tip: to check to see if your scale is measuring properly take a nickle and place it on your scale a nickle always weighs 5 gram. So if your scale measure your nickle at 5 grams you know your scale is calibrated correctly.

Step 2: Grab your food! My choice tonight a Thanksgiving dessert classic pumpkin pie. If you look at the back of the package it will tell you the grams per serving this pumpkin pie is 111g per serving. I measured out 78g because i didn't want a full serving.

Step 3: Tare your scale to zero it out so you can measure your awesome toppings next!

Step 4: Grab some whipped cream(YUM) The serving size on the whipped cream is 5 grams and of course I got that right on the dot :D

Step 5: Grab your cup! Tare the scale to zero it out. The great part about this scale is all the measurement choices. So now you're going to use the unit button and switch to fl. oz. for your drink of choice.

Step 6: Pour your drink, one of my Thanksgiving favorites is Sparkling Apple cider (YUM again) The serving size on this drink is 8 fl. oz. which is standard for most drinks. As you can see i went over a smidgen but I said what the heck it's Thanksgiving and I'll live dangerously ;D

Step 7: Chow Down and enjoy your yummy dessert !
This scale has taken the guess work out of measuring food for me. I watch my calorie intake very closely to maintain my weigh, so any product that make that easier gets an A+ in my book. This scale is sleek and easy to use. It looks beautiful sitting on my granite counter top too. I love that it can go from measuring grams to ounces to fluid ounces to milliliters. It's so versatile and works for so many kitchen food projects! With all my holiday baking coming up this is going to come in super handy. Maybe I'll even make it through the holidays without gaining any weight haha a girl can dream.
WORTH IT OR WORTHLESS?
TOTALLY WORTH IT!!!
You can purchase one of your very own HERE at Amazon.com
*disclosure: I did receive this product free for testing purposes, all opinions are my own.
Happy Holidays Everyone!
#Tomoson #smartweigh
Thursday, October 29, 2015

Wednesday, October 28, 2015
Devilish Devil Halloween Cupcakes!!!

What You Need:

-Devils Food Chocolate Cake Mix ( I grabbed the wrong box for the picture OOPS)
-Chocolate Frosting
- Vanilla or Cream Cheese Frosting which ever you prefer
-1 Cherry AirHeads Candy
-Black Food Coloring
-Red Food Coloring( I prefer wiltons red food coloring it makes a better red color)Buy HERE
-Wiltons Candy Bones Buy HERE
-Red Decorating Sugar
-Cupcake Corer Buy HERE
-2 Plastic ziplok baggy or 2 Decorating bags
- prefer decorating tips
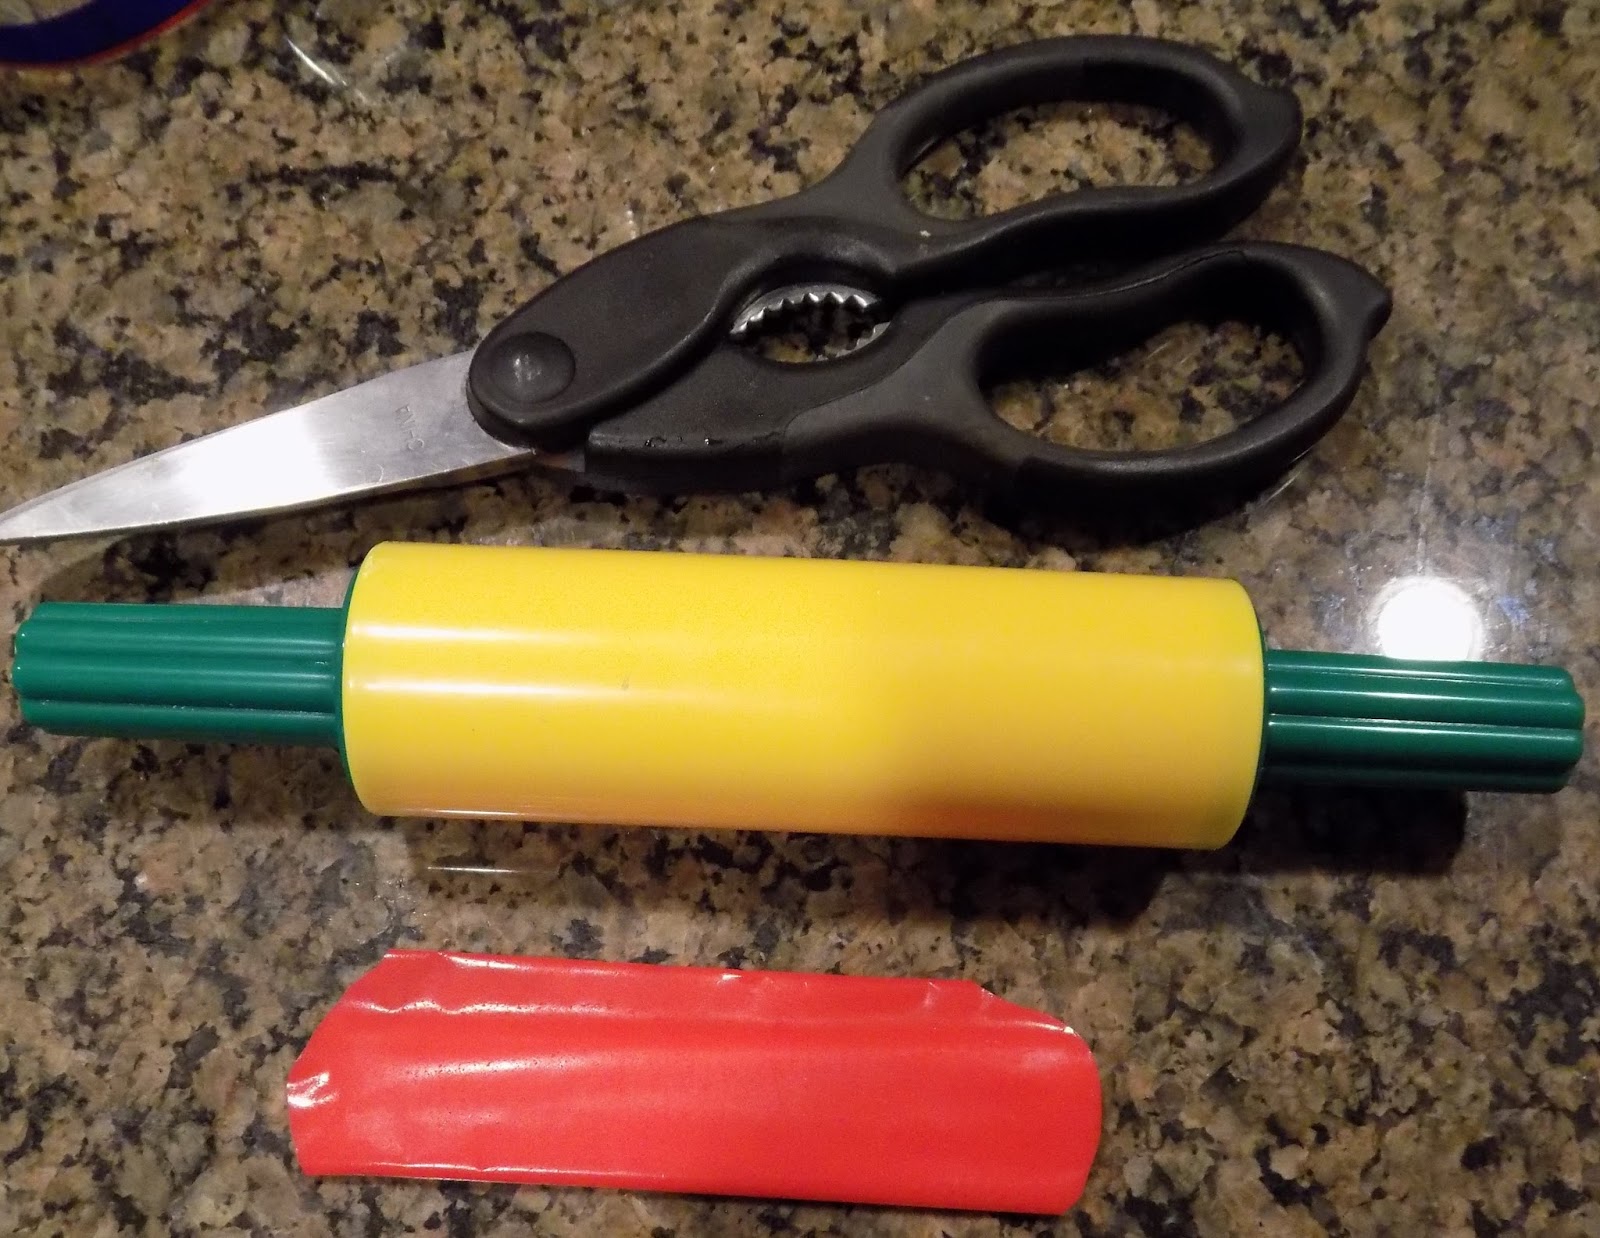
-Rolling Pin
-Good Pair of Kitchen Shears
Ready! Set! Bake!!
Step 1:
Make your cupcakes and add black food coloring into the mix to turn you cupcakes black!
Then bake and let cool!

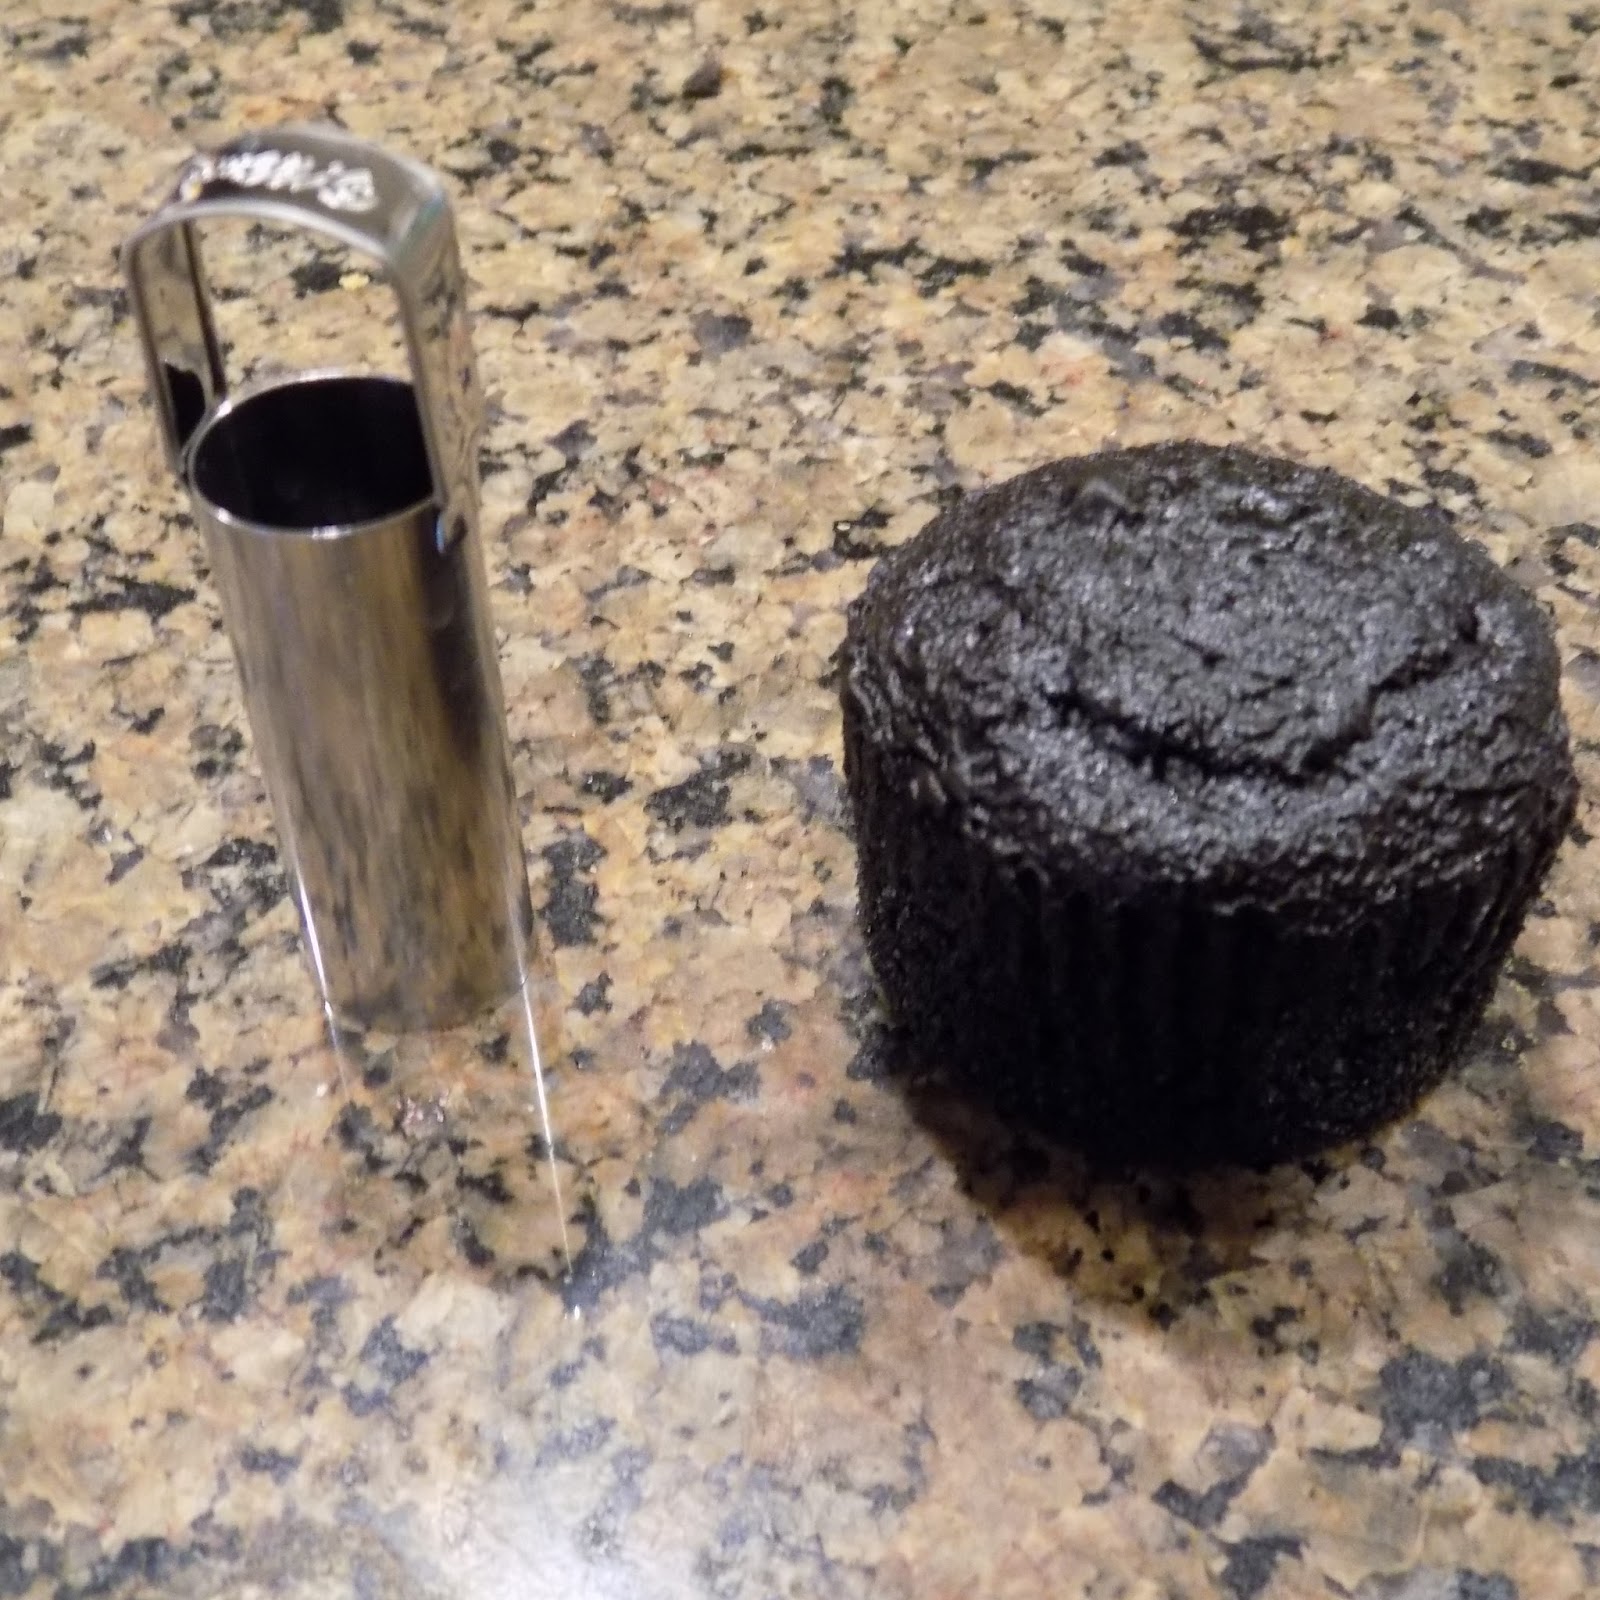
Step 2:
Take your cupcake corer and core your cupcake about half way through
Be careful not to go all the way through
Make sure to tap out any remaining crumbs left in the cupcake


Step 3:
Take some of your Wilton's candy bones and put them at the bottom of the hole in your cupcake


Step 4: Take you vanilla frosting and mix in your red food coloring

Step 5: Take your baggy or decorating bag put in a filling tip cut the corner out and fill the bag with your red frosting then fill the center of your cupcake
Tap your cupcake lightly on the bottom to remove any air bubbles, then continue to fill till you reach the top. Make sure the frosting is level with the top of the cupcake.

Step 5: Take the Airheads candy and roll it out with the rolling pin, you want it to be pretty thin, this makes it easier to work with and cut.


Step 6: Cut out you horns, small strip for the tail and triangle for the end of the tail.
One AirHeads candy can make about 10 sets

Step 7: Roll the tail strip to make it more round then push the triangle part onto the end of it, if it won't stick well use a bit of water to attach it. Volia! Your devil's tail is complete!

Step 8: Frost your cupcake with the desired tip ( add black food coloring to your chocolate frosting to make it black) My frosting was a bit too warm on this cupcake if you run into this problem refrigerate you frosting for a few minutes
Step 9: Add your Airheads' decorations as desired

Step 10: Add your red sugar to the top of your cupcake to add a little pizzazz !

Step 11: Eat and ENJOY!!!


Happy Baking & Happy Halloween!!
*Disclaimer: I did receive the Airheads candy free for testing and creating, but all opinions are my own.
#AirHeadsCrafts #Smiley360 #GotItFree
AirHeads Sorbet!! -How To!!- Halloween fun!

So, this is one of the easiest recipes I've ever created!! I created this with my dairy -free son in mind. This entire recipe contains no milk!
What you need:
-Your Favorite Sorbet, we used Haagen-Dazs Zesty Lemon because we love the flavor, it mixes well with Airheads and it's very clear so you can see all the awesome Airheads inside the sorbet!

-AirHeads Candy! The amount will vary based on how much sorbet you mix and how many peces you want in your sorbet. I used 4 Airheads for my sorbet AirHeads mix.

- Sharp knife or good pair of kitchen scissors (scissors are easy to use when working with AirHeads candy)
-Ice Cream scoop or good spoon ;)
Optional items for Halloween decorating:
-Wiltons Candy Eyeballs

-AirHeads Xtremes Rainbow Berry

-AirHeads Bites

Now your ready to create your masterpiece!!!
Step 1:
Cut up your Airheads in small confetti like strips

Step 2:
Throw them on your sorbet, now you could stop here and use the airheads as a topping like sprinkles if you like or you can move on to step 3

Step 3:
Mix the Airheads into the sorbet thoroughly

Step 4: You can either eat and enjoy at this point or put back in the freeze for 3-4 hours to harden back up

Step 5(optional): Halloween fun option! Let your kids decorate to their little hearts content!
here is our 3 eyed crazy mow-hawked monsters!


See Simple and really easy for you and your kids to enjoy!!
*Disclaimer: I did receive this Airheads candy free from Airheads and smiley360 to test review and create. All opinions are my own
Happy Creating!
#Halloween #AirHeadsCrafts #gotitfree
Subscribe to:
Posts (Atom)